We love Cosplay! All things costume design, prop making, photos, and maybe a few random ramblings in between!

Sunday, September 21, 2014

Ronan the Accuser-- pt 2

At least I think it's part 2. I've lost count of how many times I've fought with this freaking costume.

Anyways. I have a black corset that I wear sometimes, and figured it would work nicely for the body of the armour.
I took black gaffer's tape and taped across the surface of the fabric, so after I'm done with the costume, I can just peel it off, and no damage will have been done to the fabric.
Hopefully.

 Before tape

 After tape

*** Gaffer's tape is like a high-tech type of duct tape. It's made with cloth fibers, so it's a bit more difficult to work with, but holds up really well, doesn't leave gross sticky residue like duct tape does, and the best part, doesn't smell disgusting like duct tape does. It's around $8 a roll. I found it at Ace Hardware, but they don't sell it at Home Depot. (At least not at ours) ***

Next, I took sheets of craft foam and cut them into long panels, three for each side. The ones in the front are the largest, and rounded at the top, whereas the ones in the back are more just narrow strips.
Then I used hot glue to stick them in place.


Hot glue works really well. It won't peel apart very easily, and it bonds to the foam.

Next, use a pencil or other sharp object to cut the designs into the foam.
As I said in the last tutorial on this costume: Once you draw on the foam, the lines are PERMANENT. There is no way to remove the lines once the foam has been marked. And it marks VERY easily. Practice on a piece of scrap foam if you need to.

Then I painted over the design with Mod Podge to seal it, so it can be painted. Craft foam is like a sponge, it will soak up as much paint as you can put on it, so it has to be sealed first. With about 5-6 coats.


Still wet in this picture, but Mod Podge dries completely clear.

Since this is a corset, and with the way it's made, I can't wear it on its own, I used gaffer's tape to cover the front of an old bra. This'll be the top of the breastplate.
All there is to it, I'm not messing around with this part.

Easy enough.

Anyways, I REALLY hope this version of the costume works, because I'm getting seriously pissed at this costume. This is the third time I've done work just on the breastplate part of it.

.........

But on a second note, I've successfully created the overskirt--thing.

I found a long, black skirt at Goodwill, about mid-calf length. I started out by cutting vertically up the front of the skirt, to about four-five inches from the top hem.


Then I cut up either sides of the main split, widening it into a bigger triangle.


Next, I cut several more vertical splits at point all around the skirt, to make the points that hang down, and cut them into points at the bottoms.


There was a pleat sewn into the back, so I just cut it out, and cut another split into the back, as high as the one in the front, and widened it to about 2 inches across.


Then I cut between the points, vertically, but not as high as the main front and back points, to separate them into individual points.


Last step was to hem them. Whatever fabric this skirt is made out of frays like crazy, so I had to neaten it up.
I just folded the sides over about 1/2 an inch to the inside, and sewed it up.


All done! Mother found me a pair of fake leather leggings, so this costume is about halfway finished. Still have to make the hood/headpiece, shoulder armour, gloves w/armour, and the hammer.
I've already started working on the makeup for this. And come to the conclusion that wearing this makeup all day at a convention, in Phoenix, in the summer, is going to suck. But, I'll figure something out.

~Michelle

Thursday, September 18, 2014

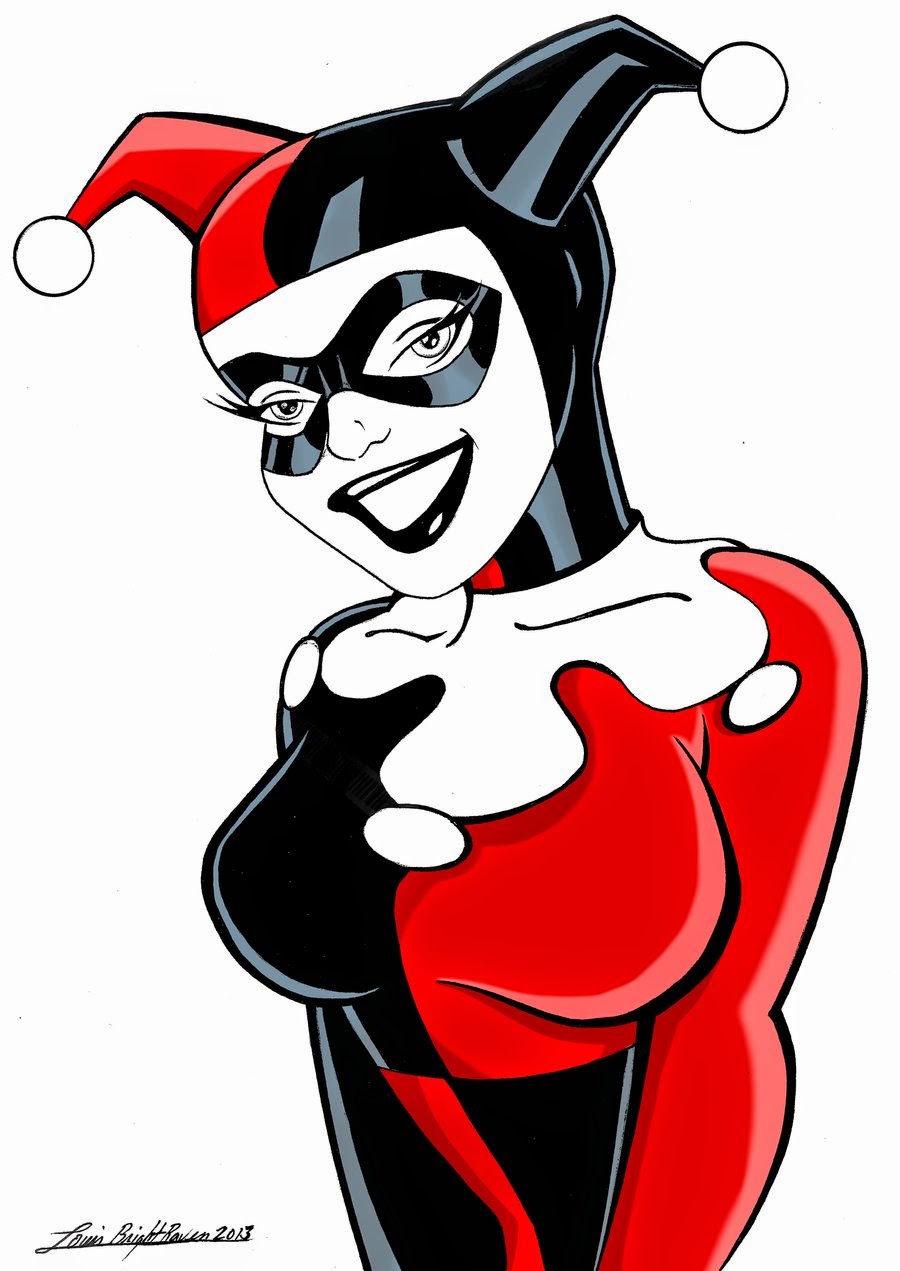
Harley Quinn-- The Collar, Pt. 1

Making this up as I go along.
So Harley Quinn has a wide, flat collar with long-- tassel-- things.. I'm not really sure what to call them.


Whatever they're called.

Anywhoo.

First step-- I had Lainee measure around the bottom of her neck, towards the flat of her shoulders, and directly above her collarbones.

Then I made the measurement into a circle on the measuring tape, and traced the circle onto a piece of double folded white cotton. Then I folded it in half again and measured three points from the circle, 4 1/4 inches long, and drew the squiggle/tassel/things on with a pencil. Then pinned it to keep the layers from shifting around.


It's hard to explain.

So then I cut it out, and cut the center piece out for the neck.


Then unfolded it and pinned it again to keep the two layers together.


I also cut one side open for the fastener.
Then I just stitched around the entire piece. Et voila.


So now all that needs to be done is attach a fastener of some sort, then sew on the pompoms. 

~Michelle

Wednesday, September 17, 2014

Status Update..

So things have been a bit crazy around here, given school started and everything, plus the older sister got married recently (Congrats to them!), so we haven't really had time to post. But we've definitely been working on stuff, when we can.

Halloween is coming, and that makes a cosplayer's life SO MUCH EASIER when you can go to almost any store and find endless amounts of costume stuff. Most of it is pretty cheap, as well.
This also means there's wigs for sale. Our city doesn't have a Party City for some dumb reason, but Saver's is selling wigs for $7.99.
I picked up a bright blue wig at Saver's today. And it's surprisingly not as bad as I thought it would. Like my Quicksilver wig is. And the platinum blonde wig I bought for my Draco Malfoy crossplay.

Sigh. This is the problem with being poor and having to buy cheap wigs that are all shiny and icky with weird partings.
But this one isn't bad, and works really well with the colours.


So I like this one quite a bit. Doesn't need any work. (It looks mint green in the pictures, but it's actually aqua.)

Lainee's wig is another story.
We laughed so hard over how bad it was.
Also from Saver's, I believe hers was called a "Hippie Wig"? Yeah. It's as bad as it sounds. It's like a curtain of hair, it's all exactly the same length. And it's shiny. With a straight, stiff center part.
Yeah.

So I'm trying to fix it. Since it's for her Scarlet Witch costume, it obviously needs to look like her natural hair, so I'm soaking it in fabric softener to take the shine out. (I'll do separate tutorials for the wig styling/care/fixing.)

*By the way, Lainee, I'm still laughing over how bad that thing is...*

Other projects have mainly been working on Lainee's Harley Quinn costume. I made a ruffle out of some plain cotton scraps, but was stupid and didn't think to take pictures of it. But I just cut the fabric into 2 inch wide strips, folded them over to make ruffles, and sewed them up. (After managing to break the sewing machine five stitches in..) Then I turned the skirt inside out and sewed the ruffles to the bottom hem with black thread. It ended up sticking out about an inch and a half below the hem.

Next project is making Harley Quinn's collar, and I'm just making it up as I go along, so.. We'll see how it turns out.

~Michelle